As a homeowner, dealing with a leaking roof can be a frustrating and stressful experience. Not only can a leaking roof damage the interior of your home, but it can also pose a safety hazard if left untreated. It’s essential to address a leaking roof as soon as possible to prevent further damage to your home. In this article, we will discuss common causes of roof leaks in San Antonio and provide a step-by-step guide on how to fix a leaking roof.
Common Causes of Roof Leaks: Roof leaks can be caused by various factors. Here are some of the most common causes of roof leaks in San Antonio:
- Damaged Shingles: Shingles can be damaged by strong winds, hail, or heavy rains. If shingles become damaged, water can seep through the roof and cause leaks.
- Cracked Flashing: Flashing is used to seal the joints in your roof, including the chimney and roof vents. If the flashing becomes cracked or damaged, water can seep through and cause leaks.
- Clogged Gutters: Water can overflow and seep into the roof if your gutters become clogged with leaves and debris.
- Improperly Installed Skylights: Skylights are notorious for leaking if they need to be installed properly. Water can seep into your home if the flashing around a skylight becomes damaged or wrongly sealed.
Steps to Fix a Leaking Roof:
Step 1: Identify the Source of the Leak The first step in fixing a leaking roof is to identify the source of the leak. Begin by looking for water stains on your ceiling and tracing them back to their source on the roof. Once you have identified the source of the leak, you can begin to make the necessary repairs.
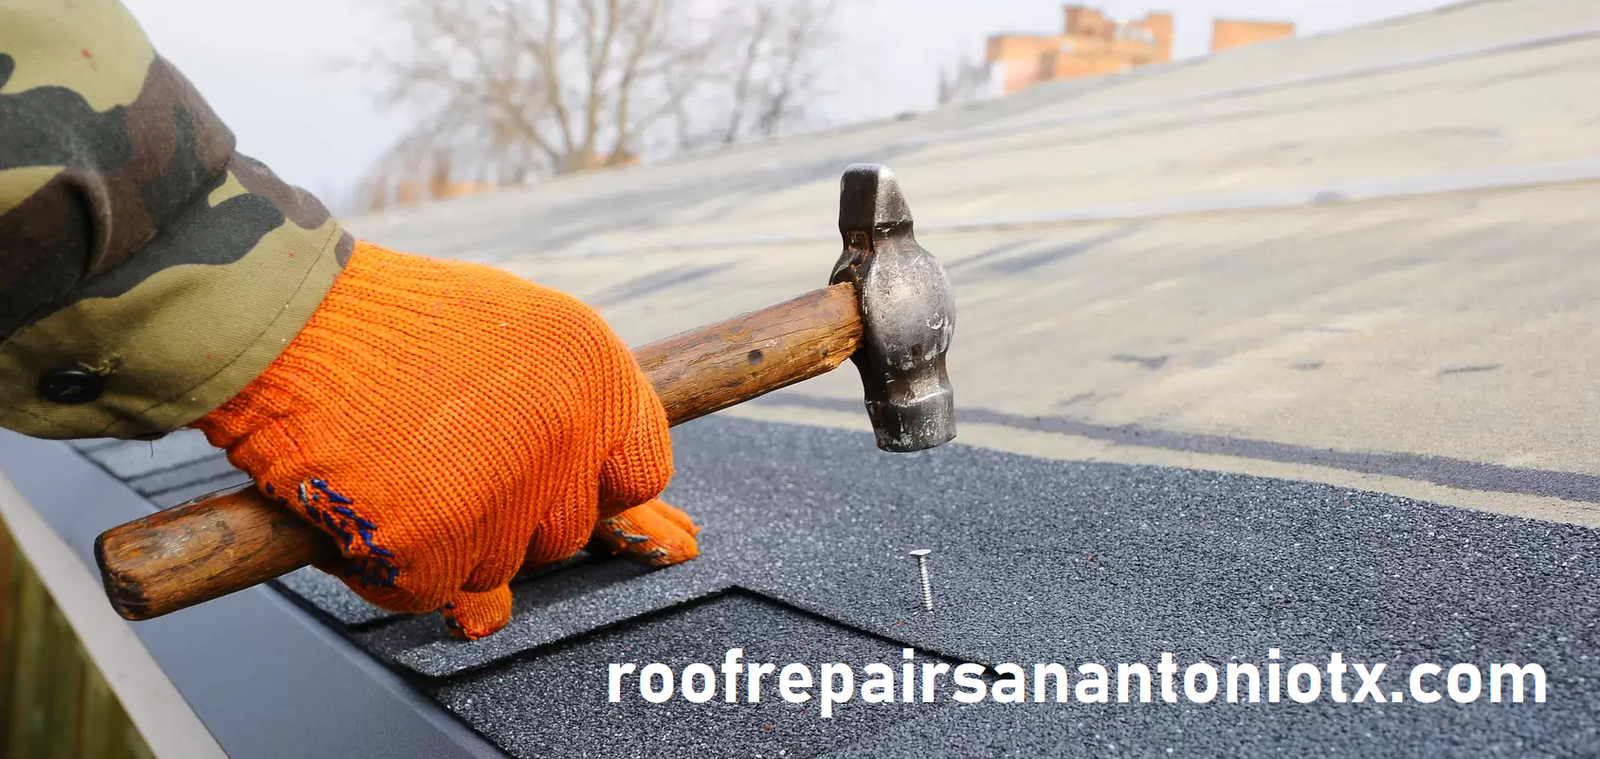
Step 2: Fix Damaged Shingles If damaged shingles cause a leak, you must replace them. Begin by lifting the edges of the damaged shingle and prying out the nails. Then, slide the new shingle into place and nail it down. Be sure to apply roofing cement to the nail heads to prevent water from seeping in.
Step 3: Repair Cracked Flashing To repair cracked flashing, you will need to remove the damaged section and replace it with a new piece of flashing. Begin by using a pry bar to remove the damaged flashing. Then, cut a new piece of flashing and slide it into place. Finally, seal the edges with roofing cement.
Step 4: Clean Gutters If clogged gutters cause the leak, you will need to clean them out. Begin by using a ladder to access your gutters and remove any debris. Be sure to wear gloves and use caution when working on a ladder.
Step 5: Reinstall or Replace Skylights If improperly installed skylights cause the leak, you will need to reinstall or replace them. Begin by removing the skylight and inspecting the flashing. If the flashing is damaged, replace it. Then, reinstall the skylight and seal the edges with roofing cement.
Step 6: Check for Additional Leaks Once you have made the necessary repairs, checking for additional leaks is essential. You can do this by inspecting your roof for any signs of damage, such as missing shingles or cracked flashing. If you notice any additional leaks, repeat the repair process as needed.
A leaking roof can be a frustrating problem for homeowners. However, with the right tools and knowledge, you can fix the problem and prevent further damage to your home.
If you need roof leaks repair service, Call Us now. 210-899-5835
