The allure of a standing seam metal roof is undeniable. With its sleek lines, weather-resistant qualities, and energy efficiency, it’s no wonder homeowners and businesses are making the switch. Installing one, however, requires precision and understanding. This guide walks you through the entire process, ensuring that if you’re a seasoned builder or a DIY enthusiast, you’ll have the knowledge to do it right.
Section 1: Understanding Standing Seam Metal Roofs:
Before diving into installation, let’s define what a standing seam metal roof is. Characterized by raised interlocking seams that connect metal panels, this roof type is praised for its durability and long-term performance. It comes in various materials like aluminum, steel, and copper and offers a range of colors and finishes to fit any architectural style. They are known for their ability to shed water and snow quickly, making them perfect for diverse climates.
Section 2: Pre-Installation Planning:
Good planning is vital. Begin thoroughly assessing your roof structure to determine if it can support a metal roof. Next, calculate the amount of material needed. Take accurate measurements of your roof’s surface area to avoid wastage or shortfalls. Ensure you have all the necessary tools and safety equipment before starting. Lastly, it’s critical to comply with local building codes – obtaining the required permits is a step you cannot skip.
Section 3: Materials and Tools Needed:
You’ll need specific materials and tools to install your standing seam metal roof. Here’s what should be on your list:
- Materials: This includes metal panels, fasteners, underlayment, clips, and closures.
- Tools: Gather your hand seamers, metal snips, a hammer, a tape measure, and a roofing knife.
- Safety Gear: Safety cannot be overstated. Ensure you have a sturdy ladder, safety harness, non-slip shoes, gloves, and protective eyewear.
Section 4: Preparing the Roof:
Start with a clean slate. Remove any old roofing materials and fix any damages to the roof deck. Lay the underlayment, starting from the edge and working your way across. It acts as an additional barrier against the elements and provides a smooth surface to work on.
Section 5: Installing the Metal Panels:
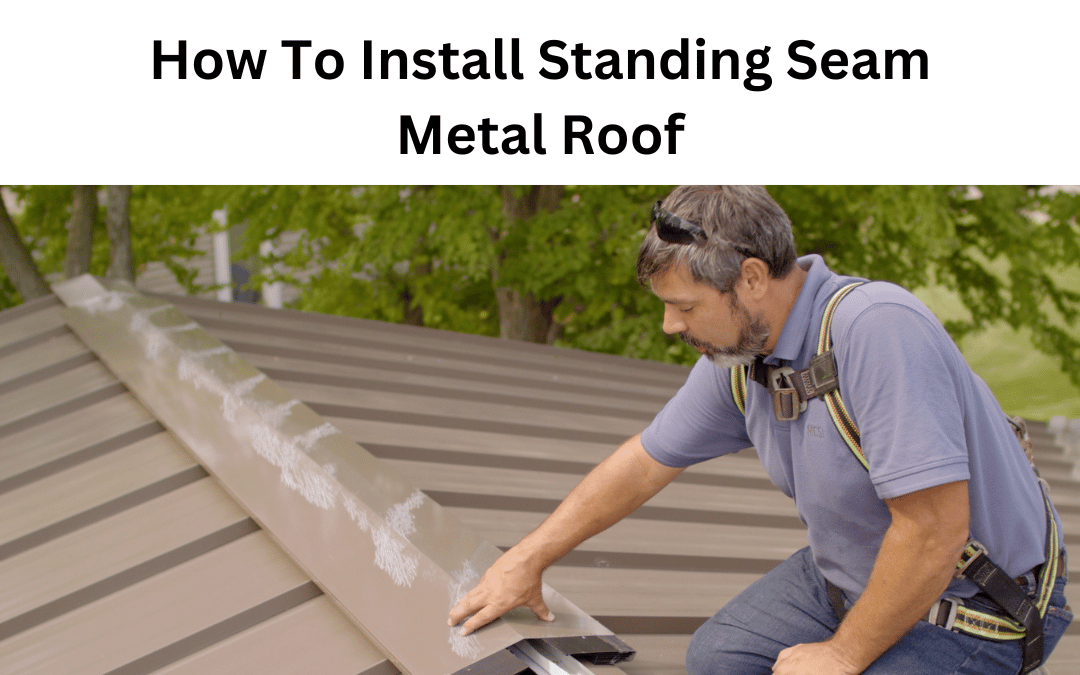
Precision is paramount here. Carefully align the first panel before securing it with clips. These clips allow the metal to expand and contract with temperature changes, preventing warping. Work across the roof, ensuring each panel is correctly overlapped and interlocked with its neighbor.
Section 6: Installing Flashing and Trim:
Flashing is a vital component in preventing water ingress. You’ll install flashing along the roof’s edges, around the chimney, vent pipes, and at the valleys where two roof planes meet. Pay special attention to these areas as they are often where leaks can start if not properly secured.
Section 7: Seaming the Panels:
This is where standing seam roofs get their name. The seams between the panels must be joined using a seamer tool—either hand-operated or mechanical. This process locks the boards together, creating a continuous, watertight surface.
Section 8: Finishing Touches and Quality Checks:
After installation:
- Walk through a final checklist.
- Look for uniformity in the seams, ensure all flashing is secure, and confirm no exposed fasteners.
- Double-check the panel’s allowances for expansion and make sure your roof is well-ventilated.
Section 9: Maintenance and Care:
Though low maintenance, your metal roof will benefit from periodic checks. Look for debris accumulation, scratches, and any movement in the panels. Regular inspections can help catch issues early, extending the life of your roof.
Conclusion:
Installing a standing seam metal roof is an investment in your property’s future. By following these steps, you’re not just putting up a roof; you’re enhancing your home’s aesthetic, efficiency, and resilience. With careful installation and regular maintenance, your metal roof will protect and improve your home for decades.
CALL US FOR FREE ROOF INSPECTION
FAQs:
Q: Can I install a standing seam metal roof over an existing shingle roof?
-
- A: It’s possible but only recommended with a complete inspection. You must ensure the underlying structure can handle the additional weight and that the old roofing material won’t compromise the integrity of the new roof.
Q: What’s the best way to handle roofing over hips and valleys?
-
- A: Precision-cutting the panels and using specialized hip and valley flashing will ensure a snug fit and watertight seal. It’s a meticulous process but crucial for a leak-free finish.
