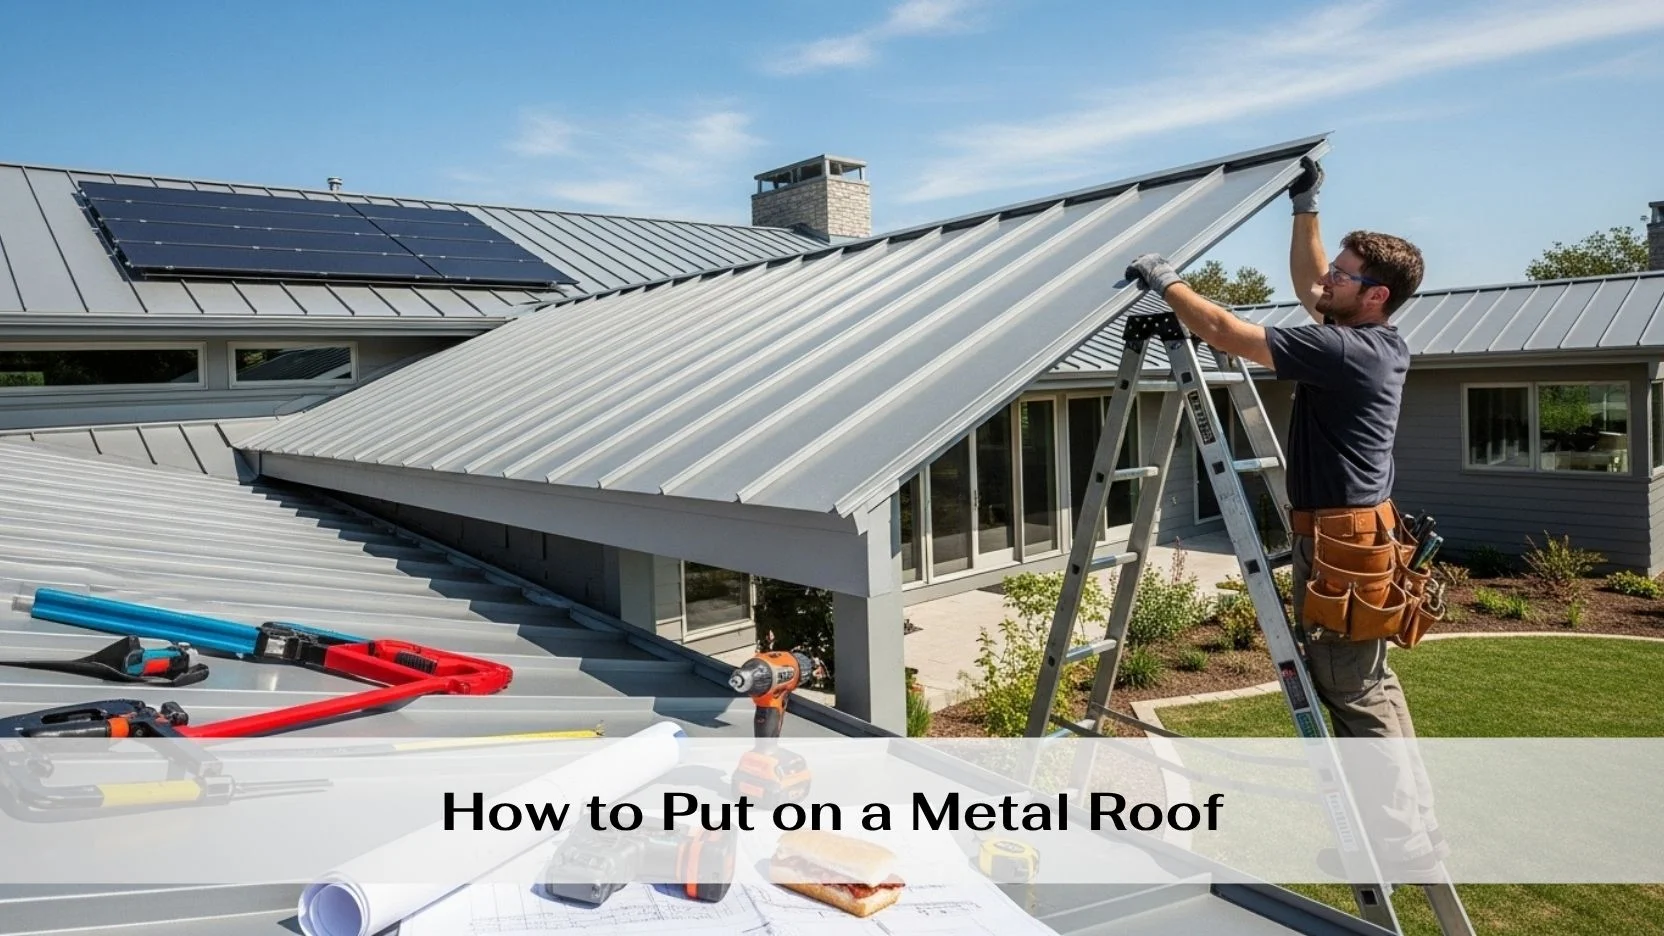
Metal roofs are strong, long-lasting, and great for energy savings. Many skilled DIYers or small contractors choose to install them for both cost savings and satisfaction. But putting on a metal roof is not a weekend project. It takes careful planning, safety awareness, and precision. In this guide, you’ll learn how to put on a metal roof step by step, with clear tips to help you do it safely and correctly.
1. Safety First: Before You Climb
Before doing anything, focus on safety. Working on roofs is risky, especially with metal panels that can be slick.
According to a metal roof installation guide, “Use extreme care while installing roof panels… Provide required safety railing, netting, or safety lines for crew members working on the roof.” (Metal Sales Installation Guide)
Safety checklist:
- Use a sturdy ladder and secure it well.
- Wear slip-resistant boots and gloves.
- Use a safety harness and anchor it properly.
- Avoid working in high wind or rain.
Taking these steps protects you and ensures the job goes smoothly.
2. Choosing Materials and Planning Layout
Metal roofs come in several types. The two main ones are standing seam and exposed fastener (corrugated). Standing seam looks clean and hides the screws, but it’s harder to install. Exposed fastener panels are easier for DIYers and still last decades.
Choose materials based on your roof pitch, climate, and skill level. Plan your layout before you buy. Measure your roof, sketch a diagram, and order about 10% more panels to allow for mistakes and trimming. (Lowe’s Roofing Guide)
3. Preparing the Roof Surface
Start by removing old shingles or damaged material. Inspect the decking underneath. Replace any rotten boards and make sure it’s level.
Next, install underlayment (roofing felt or synthetic barrier). This prevents moisture from getting under your panels. Then add drip edges along the eaves and rakes. These metal strips help guide rainwater away from your structure. (Wagler Steel Guide)
Clean off any debris before you start placing panels.
4. Installing Panels and Fasteners
Now the real work begins.
- Start at the bottom corner of the roof, square to the eave and ridge.
- Lay your first panel and align it carefully. Mistakes here will affect the whole roof.
- Overlap each new panel according to the manufacturer’s directions, usually one ridge.
- Place screws with rubber washers into the flat areas of the panel, not the ridges. Tighten until snug—don’t overdo it.
A family roofing expert advises: “Keep your screws straight and consistent. It’s the small details that prevent leaks later.” (Family Handyman)
Cut panels to size with metal snips or a circular saw with a metal-cutting blade. Always wear safety glasses.
5. Trimming, Flashing, and Ridge Caps
Once all panels are installed, finish the edges. Add flashing around chimneys, skylights, and vents to keep water out. Install closure strips at the ridge and eaves to seal gaps. Then, secure the ridge cap along the roof peak.
Make sure all overlaps face away from the prevailing wind. Double-check seams and screws for gaps. (Metal Roofing Source)
6. Final Inspection and Maintenance
Inspect your roof once it’s done. Look for loose screws, metal shavings, or panels out of line. Clean the roof surface and gutters.
According to This Old House, a properly installed metal roof can last over 50 years if maintained. Keep an eye out for rust or loose fasteners every year. If you find issues beyond your skill level, contact a professional. (This Old House)
Conclusion
You now know how to put on a metal roof safely and correctly. The process takes planning, precision, and patience. But the payoff is big: a durable, energy-efficient roof that lasts decades.
If you realize mid-project that it’s more than you want to handle, consider hiring a pro. Many installers offer free quotes, and watching them work is a great way to learn for next time.
With 25 years of experience in roof repair, replacement, and leak fixes, RRSATX is the expert to call. Contact us today for more details
